sena bluetooth helmet instructions
Sena revolutionizes rider communication with integrated systems, offering seamless connectivity for calls, music, and intercom—enhancing safety and enjoyment on every journey.
Sena’s innovative technology discreetly integrates into helmets, providing a powerful communication solution for motorcyclists and other outdoor enthusiasts.
What is a Sena Bluetooth Helmet System?
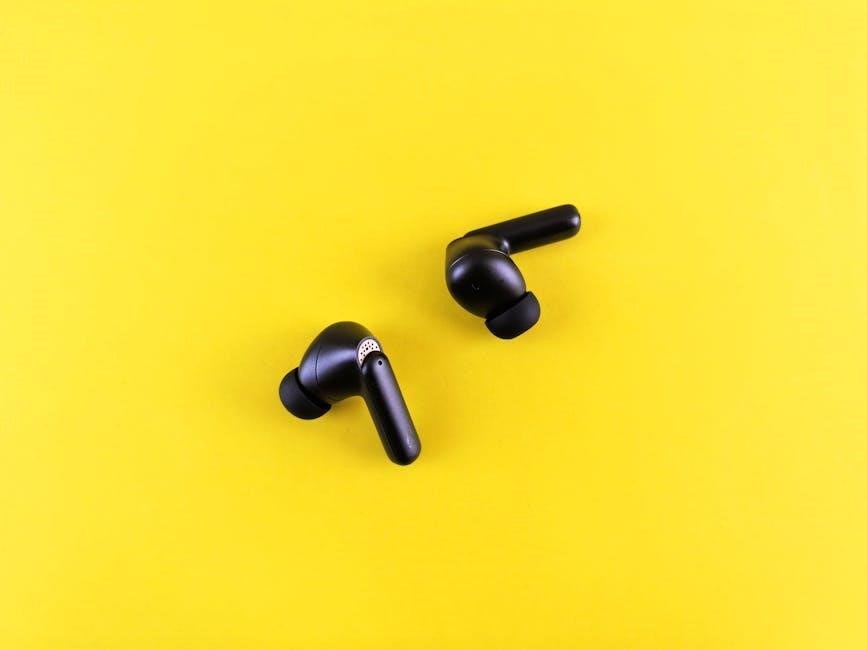
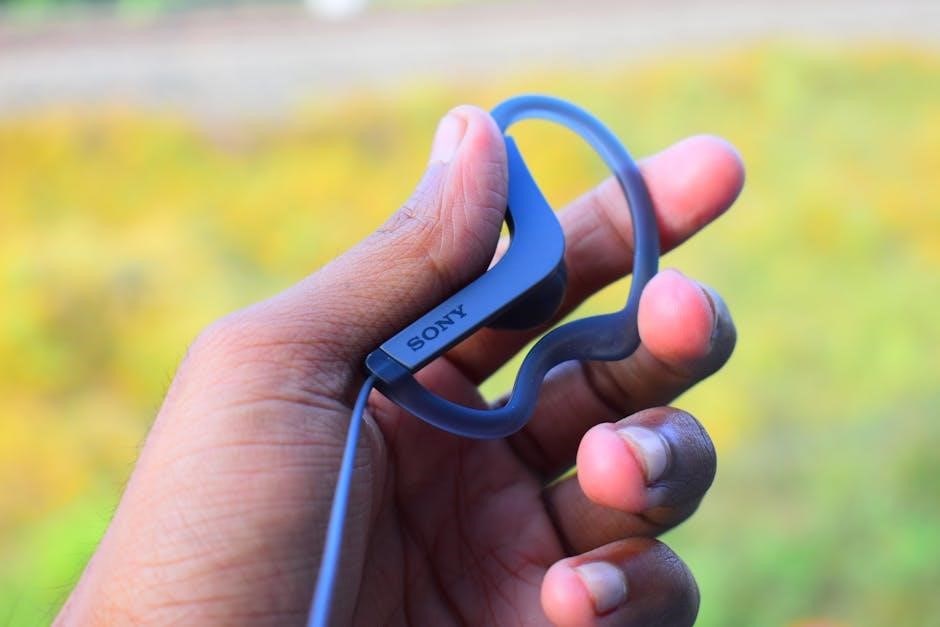
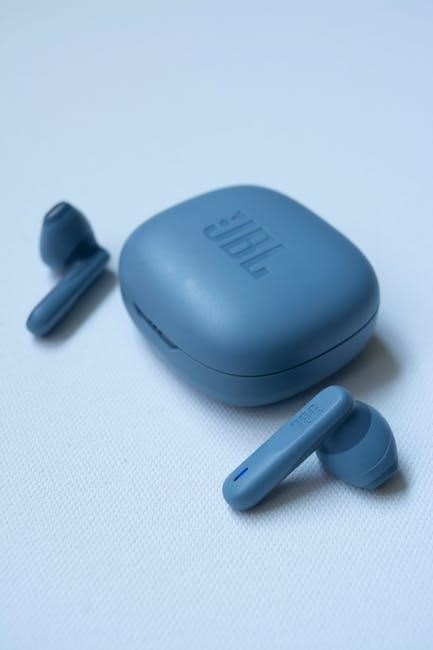
A Sena Bluetooth helmet system is an integrated communication device designed for helmets, enabling riders to connect wirelessly. These systems, like the Sena SR10, utilize Bluetooth technology to pair with smartphones, GPS devices, and other Sena headsets.
They facilitate hands-free calling, music streaming, and intercom communication with fellow riders. Some advanced systems, such as the HJC 50B, also feature Mesh Intercom, offering a more robust and expansive communication network. Sena even offers packs specifically for GoPro cameras, allowing remote control and recording initiation.
Essentially, it’s a sophisticated, rider-focused communication hub built directly into your helmet, enhancing both safety and convenience.
Benefits of Using a Sena System
Employing a Sena system dramatically improves the riding experience. Hands-free communication boosts safety by minimizing distractions, allowing focus on the road. Riders can easily answer calls, listen to music, or receive GPS directions without removing gloves or diverting attention.
Intercom functionality enables clear communication with passengers or other riders, crucial for group coordination. Features like music sharing enhance enjoyment on long journeys. Furthermore, integration with devices like GoPro allows remote operation, capturing action seamlessly.
Ultimately, Sena systems provide convenience, safety, and entertainment, transforming every ride.
Understanding Your Sena Device
Sena systems comprise a headset unit, speakers, and a microphone, utilizing either Bluetooth or advanced Mesh Intercom technology for reliable, clear communication.
Key Components of a Typical Sena System
A standard Sena Bluetooth helmet system includes several crucial components working in harmony. The headset unit, often compact and designed for helmet integration, serves as the central hub for all communication functions. Speakers, typically positioned within the helmet’s cheek pads, deliver crisp audio for music, calls, and intercom. A high-quality microphone, usually boom-style or integrated, ensures clear voice transmission.
Additionally, many systems feature a remote control for convenient operation while riding. A charging cable is essential for maintaining power, and mounting hardware—including clamps and adhesive bases—securely attaches the system to your helmet. Some models include a battery, while others are integrated. Understanding these components is key to successful installation and operation.
Bluetooth vs. Mesh Intercom Technology
Sena systems utilize two primary intercom technologies: Bluetooth and Mesh. Bluetooth establishes a direct, point-to-point connection between devices, ideal for pairing with smartphones, GPS units, or a single other rider. It’s reliable for one-on-one communication but has limited range and scalability.
Mesh Intercom, however, creates a network allowing multiple riders to connect simultaneously, forming a “mesh” of communication. This offers a significantly extended range and greater flexibility, as riders can join or leave the network without disrupting others. Mesh is superior for group rides, providing robust and dynamic connectivity. Choosing between the two depends on your typical riding style and communication needs.
Sena Device Compatibility with Helmets
Sena systems are designed for broad helmet compatibility, but proper fit is crucial for optimal performance and safety. Most Sena headsets utilize a clamp system that secures to the helmet shell. However, certain helmet designs – particularly those with deep channels or complex shapes – may require alternative mounting methods, like adhesive mounts.
The Smart HJC 50B is specifically designed for select HJC helmets, offering seamless integration. Always verify compatibility with your helmet model before purchasing. Improper installation can void your helmet’s warranty or compromise its protective functionality. Prioritize a secure and stable fit for clear audio and reliable communication.
Installation Guide
Proper installation ensures optimal performance. Begin by preparing your helmet, then carefully attach the headset, speakers, and microphone following the included Sena instructions.
Preparing Your Helmet for Installation
Before beginning, ensure your helmet is clean and dry. Locate a suitable area for the headset unit, typically on the lower side of the helmet shell. Utilize the provided hook-and-loop fasteners – carefully apply the adhesive-backed base to the chosen location, ensuring a secure bond.
Next, position the speaker mounts, also using the hook-and-loop system, near your ears. Proper placement is crucial for clear audio. Finally, identify a spot for the microphone boom, considering optimal voice capture and minimal wind noise. Remember to consult your Sena device’s specific manual for detailed guidance and helmet compatibility information.
Installing the Headset Unit
Begin by attaching the headset unit to the adhesive hook-and-loop fastener previously secured inside your helmet. Ensure a firm connection, pressing down firmly for several seconds. Next, carefully route the speaker wires along the helmet liner, avoiding any interference with the helmet’s safety features or comfort padding.
Connect the speaker wires to the headset unit, verifying a secure fit. Gently tuck any excess wire length into the helmet’s internal channels to prevent rattling or obstruction. Finally, confirm the unit is positioned comfortably and doesn’t create pressure points.
Speaker Placement and Adjustment
Position the speakers within your helmet, aligning them near your ears, but ensuring they don’t obstruct your hearing or interfere with the helmet’s padding. Utilize the provided hook-and-loop fasteners to secure the speakers firmly in place, allowing for slight adjustments to optimize sound quality.
Experiment with speaker angles to find the most comfortable and clear audio experience. Minor adjustments can significantly impact sound clarity and bass response. Ensure the speakers aren’t pressing directly against your ears, as this can cause discomfort during longer rides. Prioritize a secure, yet comfortable fit.
Microphone Positioning for Optimal Clarity
Position the microphone close to your mouth, typically along the jawline, without obstructing your speech. The boom microphone should be adjustable to ensure consistent clarity, regardless of helmet type or face shape. Avoid positioning it too close, which can cause breath noise, or too far, resulting in a muffled sound.
Fine-tune the microphone’s angle to minimize wind noise and maximize voice transmission. Experiment with slight adjustments during a test call to identify the optimal position. Ensure the microphone doesn’t interfere with your visor or other helmet features. A secure, yet flexible, placement is crucial for clear communication.

Pairing and Connecting Devices
Sena headsets easily pair with smartphones, GPS devices, and other Sena units via Bluetooth, enabling hands-free calls and seamless communication on the road.
Pairing with a Smartphone
To pair your Sena headset with a smartphone, first ensure your headset is in pairing mode – typically activated by pressing and holding the power button until the LED indicator flashes blue.
Next, navigate to the Bluetooth settings on your smartphone and initiate a device search. Your Sena headset should appear in the list of available devices. Select it to begin the pairing process.
You may be prompted to enter a PIN code, which is often ‘0000’ (four zeros). Once successfully paired, your smartphone will connect to the headset, allowing for hands-free calling, music streaming, and access to voice commands. Confirm successful connection via voice prompts from the headset.
Pairing with Another Sena Headset
Pairing two Sena headsets enables rider-to-rider communication. Begin by putting both headsets into pairing mode – usually by holding the power button until the LED flashes blue. Ensure both devices are within close proximity, ideally within 30 feet.
On one headset, initiate the pairing process through the device’s menu (often a long press of the intercom button). The headset will search for available devices. Select the other headset from the list when it appears.
Successful pairing is confirmed by a voice prompt. You can then establish an intercom connection, allowing for clear communication between riders during your journey.
Connecting to a GPS Device
Connecting your Sena headset to a GPS device allows for turn-by-turn navigation audio directly into your helmet. First, ensure your GPS device has Bluetooth capabilities and is in pairing mode. On your Sena headset, initiate pairing mode by holding the Bluetooth button until the LED flashes.
Select your GPS device from the list of available Bluetooth devices on your Sena. Once paired, the GPS audio will automatically route through your headset speakers. You may need to adjust the volume for optimal clarity.
Confirm proper functionality by starting a route on your GPS.
Pairing with a GoPro Camera (Sena Bluetooth Pack)
Utilizing the Sena Bluetooth Pack for GoPro enables remote camera control and audio recording during your rides. Begin by ensuring your GoPro is powered on and in pairing mode – typically accessed through the camera’s settings menu. Activate pairing mode on your Sena headset by pressing and holding the designated button until the LED indicator flashes.
Select “GoPro” from the available Bluetooth devices on your Sena. Once connected, you can start/stop recording and review footage using voice commands or headset controls. Refer to the Sena Bluetooth Pack manual for specific command details.
Basic Operations
Essential functions include powering the device on/off, adjusting volume, answering calls, and utilizing voice commands for hands-free control during your ride.
Powering On and Off
To power on your Sena device, typically a long press of the power button is required – usually around 2-3 seconds – until an audible prompt confirms activation. The device will often announce “Power On” or a similar message. Conversely, powering off usually involves a similar prolonged press of the same button.
Be mindful that some models may have slightly different procedures, so consulting your specific model’s manual is crucial. A short press of the power button often controls volume or initiates voice commands, so a sustained press is key for power functions. Ensure the device is fully charged for optimal performance and to avoid unexpected shutdowns during your ride.
Adjusting Volume
Adjusting the volume on your Sena Bluetooth headset is generally straightforward. Most models utilize a dedicated volume control button, often located on the headset unit itself. A short press typically increases the volume, while a longer press may decrease it. Some devices feature both ‘+’ and ‘-‘ buttons for precise control.
Alternatively, many Sena systems support voice commands for volume adjustment. Saying “Volume Up” or “Volume Down” can adjust the audio level hands-free. Always prioritize safe operation; avoid fiddling with controls while riding. Ensure the volume is set to a comfortable level, allowing you to hear both the intercom and surrounding traffic.
Answering and Making Calls
Answering incoming calls with your Sena system is usually done by pressing the talk button on the headset unit. A short press typically answers the call, while a longer press may reject it. To initiate a call, utilize voice commands – saying “Call [Contact Name]” will dial the number if your phone is paired.
Some Sena models allow redialing the last number called with a specific button sequence; Remember to prioritize safety; hands-free operation is crucial while riding. Ensure your smartphone is properly paired via Bluetooth for call functionality. Always check local laws regarding phone use while operating a vehicle.
Using Voice Commands
Sena systems often feature voice command functionality, allowing hands-free control. Activate voice commands by saying a designated wake-up phrase, like “Hey Sena,” followed by your instruction. Common commands include “Call [Contact Name],” “Play Music,” or “Volume Up.”
The specific commands vary depending on your Sena model and paired devices. Refer to your device’s manual for a complete list. Ensure clear pronunciation for accurate recognition. Voice commands enhance safety by minimizing distractions while riding. Some systems support voice instructions for GPS navigation, further streamlining your journey.
Advanced Features
Sena devices unlock mesh intercom, music sharing, and FM radio capabilities, elevating your riding experience with sophisticated connectivity and entertainment options.
Mesh Intercom Functionality
Sena’s Mesh Intercom technology represents a significant leap forward in rider communication. Unlike traditional Bluetooth intercoms, Mesh creates a network allowing multiple riders to connect seamlessly, even over extended distances. This dynamic network automatically re-routes signals around obstacles or riders who move out of range, ensuring a stable connection.
Group rides become effortless as riders join a “Mesh group” without needing to individually pair each headset. The system supports a large number of participants, facilitating communication for sizable groups. Furthermore, Mesh offers improved audio clarity and reduced latency compared to standard Bluetooth, enhancing the overall riding experience. It’s a robust and reliable solution for connected riding.
Music Playback and Control
Sena systems allow riders to enjoy their favorite music while on the move, streaming wirelessly from paired smartphones or other Bluetooth-enabled devices. Integrated controls on the headset unit enable easy operation – play, pause, skip tracks, and adjust volume without removing gloves or diverting attention from the road.
Many Sena models support high-quality audio profiles, delivering rich and clear sound even at highway speeds. Some devices also feature built-in FM radio functionality, offering additional entertainment options. Sharing music with fellow riders is often possible, allowing groups to enjoy a synchronized soundtrack during their journey, enhancing the overall riding experience.
FM Radio Operation
Sena Bluetooth helmet systems often include a built-in FM radio receiver, providing an alternative entertainment source during rides. To access this feature, navigate the device’s menu using the control button, typically initiating a scan for available stations. Once stations are found, riders can tune to their preferred frequencies.
Many Sena units allow saving favorite stations for quick access. Radio reception quality can vary depending on location and signal strength. Some models offer RDS (Radio Data System) functionality, displaying station names and information when available, enhancing the user experience.
Sharing Music with Other Riders
Sena systems, particularly those with Mesh Intercom technology, enable music sharing between riders. This feature allows a rider to broadcast their music stream to connected headsets within range. To initiate music sharing, select the option within the Sena device’s menu, typically accessible through the control button.
The music will then play simultaneously on both headsets, creating a shared listening experience. Volume control remains individual, allowing each rider to adjust the sound to their preference. This function enhances group rides, fostering a sense of camaraderie and shared enjoyment of the journey.
Troubleshooting Common Issues
Sena systems may encounter pairing, audio, or connectivity problems; resolving these often involves resetting devices, checking connections, and ensuring software is up-to-date.
Bluetooth Pairing Problems
Experiencing difficulty pairing your Sena headset? First, ensure Bluetooth is enabled on both your Sena device and the target device (smartphone, GPS, etc.). Verify the Sena system isn’t already connected to another device, as simultaneous connections can interfere.
Attempt resetting both devices – a simple power cycle often resolves conflicts. If pairing fails repeatedly, try “forgetting” or removing the Sena headset from the target device’s Bluetooth list and then re-initiating the pairing process. Confirm the Sena is in pairing mode (usually indicated by a flashing LED).
Check for firmware updates, as outdated software can cause compatibility issues. Finally, ensure devices are within close proximity during pairing—ideally within 3 feet.
Audio Quality Issues
Poor audio quality with your Sena system can stem from several factors. First, confirm proper speaker placement within your helmet; adjustments are crucial for optimal sound delivery. Ensure speakers are clean and free from obstructions. Check microphone positioning – it shouldn’t be too close to your mouth or exposed to excessive wind noise.
Verify the volume levels on both the Sena unit and the connected device. Experiment with different EQ settings within the Sena app, if available. Interference from other Bluetooth devices can also degrade audio; try minimizing nearby Bluetooth activity.
Finally, a low battery can sometimes affect audio clarity.
Intercom Connectivity Problems
Experiencing difficulty connecting with other Sena headsets? First, ensure both units are in intercom mode and within range – typically a few hundred meters for Bluetooth, further for Mesh. Verify that both devices are properly paired; re-pairing may resolve intermittent connection issues.
Check for obstructions like hills or dense buildings that could interfere with the signal. Confirm that the other rider’s unit is powered on and not already connected to multiple devices.
If using Mesh, ensure you’re within the Mesh network. For Bluetooth, try forgetting and re-adding the device. A software update might also improve connectivity.
Battery Life Concerns
Sena headset battery life varies based on usage – intercom, music, GPS all consume power. To maximize runtime, reduce volume, disable unused features like FM radio, and avoid continuous intercom use. Ensure the device is fully charged before each ride.
Cold weather can significantly reduce battery performance. Keep the unit warm when possible. If battery life seems drastically shorter than expected, check for firmware updates, as these often include power management improvements.
Consider carrying a portable power bank for extended trips. Regularly charging the battery, even when not in use, helps maintain its capacity.
Maintenance and Care
Regularly clean your Sena device with a soft cloth; keep it charged and updated with the latest firmware for optimal performance and longevity.
Cleaning Your Sena Device
Maintaining your Sena Bluetooth headset’s cleanliness is crucial for hygiene and optimal performance. Always power off the device before cleaning. Use a soft, slightly damp cloth to gently wipe down the headset unit, speakers, and microphone boom. Avoid harsh chemicals, solvents, or abrasive cleaners, as these can damage the components.
For stubborn dirt or grime, lightly dampen the cloth with a mild soap solution, ensuring no liquid enters the device’s openings. Pay particular attention to the speaker grills and microphone port, removing any debris that may obstruct sound quality. After cleaning, thoroughly dry the device with a clean, dry cloth before use. Regular cleaning extends the lifespan and ensures clear communication during your rides.
Charging the Battery
Proper battery maintenance maximizes your Sena device’s runtime. Use only the provided Sena charging cable and a compatible USB power source. A full charge typically takes around 2.5 to 3 hours, indicated by a change in the LED light color. Avoid overcharging, as it can reduce battery lifespan.
It’s recommended to fully charge the device before its first use and periodically thereafter. Do not use the device while it’s charging. Store the device in a cool, dry place when not in use to preserve battery health. Regularly charging and maintaining the battery ensures reliable performance on your rides.
Software Updates and Firmware
Regular software updates are crucial for optimal Sena device performance and access to new features; Check the Sena website or the Sena Motorcycle Communications app for available updates. Download the latest firmware to your computer and follow the on-screen instructions for installation.
Updating ensures compatibility, improves stability, and addresses potential bugs. Always ensure your device has sufficient battery life before initiating an update. Interrupting the update process can damage the device, so avoid using it during installation. Keeping your firmware current guarantees a smooth and reliable user experience.
Safety Information and Warranty
Always prioritize safe riding; improper installation can compromise helmet functionality and void warranties. Review guidelines and warranty details carefully before use.
Helmet Warranty Considerations
Carefully review your helmet’s warranty before installing any Sena communication system. Modifications, including drilling or adhering components, can unfortunately void the helmet manufacturer’s warranty. Sena does offer a separate warranty on its products, but it doesn’t cover damage to the helmet itself caused by installation.
Ensure the installation process adheres to Sena’s instructions to minimize potential issues. Improper installation could compromise the helmet’s protective capabilities. Always prioritize safety and understand the risks involved. Retain all documentation related to both the helmet and the Sena system for warranty claims.
Safe Usage Guidelines
Prioritize situational awareness while using your Sena system. Avoid excessive volume levels that could hinder your ability to hear crucial environmental sounds like sirens or horns. Refrain from operating the system while actively navigating challenging road conditions.
Always ensure the system is securely installed and doesn’t obstruct your vision or helmet’s safety features. Regularly check microphone and speaker placement. Never attempt to adjust the system while riding. Responsible usage enhances safety; distracted operation compromises it; Follow all local laws regarding communication devices while operating a vehicle.